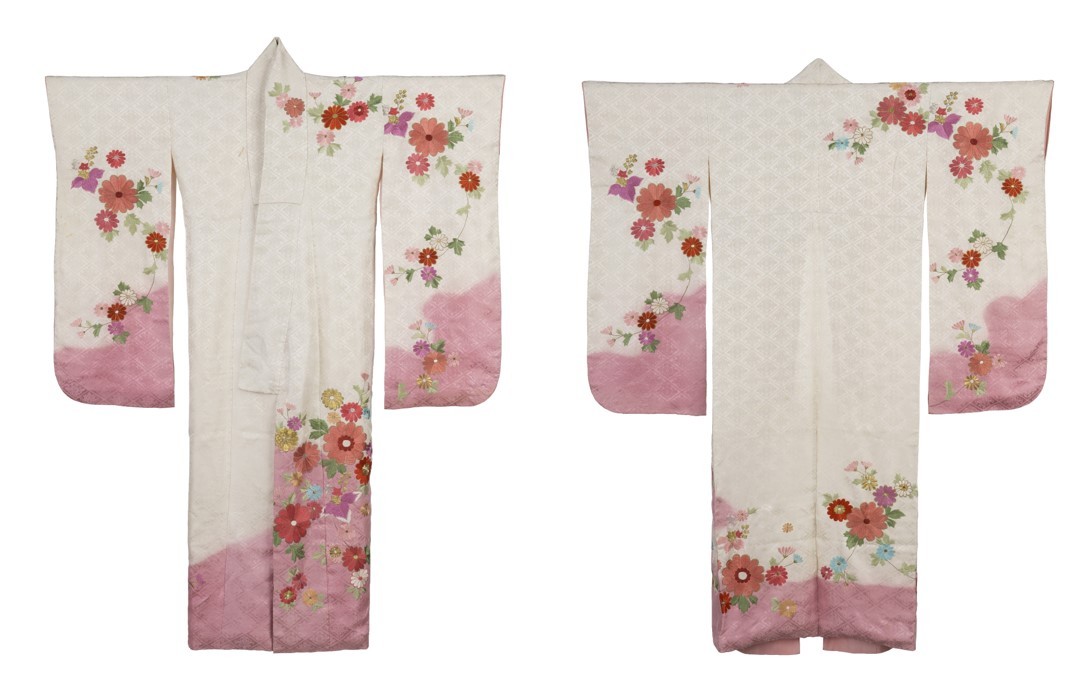
Kimono can be made at home with some simple tailoring. That includes "Japanese kimono", or kimono that match your own clothes. If you come across some fabric you love, please read this article!
Making Japanese Kimono by Sewing Machine
If you are used to sewing and tailoring, you can make a kimono in a day.
What to Prepare for Making a Kimono
- Sewing machine
- 2-3 meters of fabric
- Pins
- Measuring tools
- A pair of scissors
How to Make a Kimono
- Prepare a paper pattern. When you Google for "kimono pattern", you can find lots of nice patterns to make. Easy to cut and sew!
- Cut the cloth according to the pattern to make the parts. *If you are worried, you can cut out slightly larger pieces at this stage. After cutting, hold it against your body to determine the actual size.
- Sew the parts together and you're done! *You can enjoy your own design, such as using a different patterned cloth for the collar!
- Optional: Make an obi sash!
Cut the cloth into strips: 3-4m is enough. If the strip is about 10 cm wide, fold it in half and sew it. If it is about 5 cm, you only need to sew up both ends.

You can make the obi with the same cloth as the kimono, or you can make it from a different one as shown in the picture above, which adds an element of contrast.
Making Japanese Kimono Without Sewing
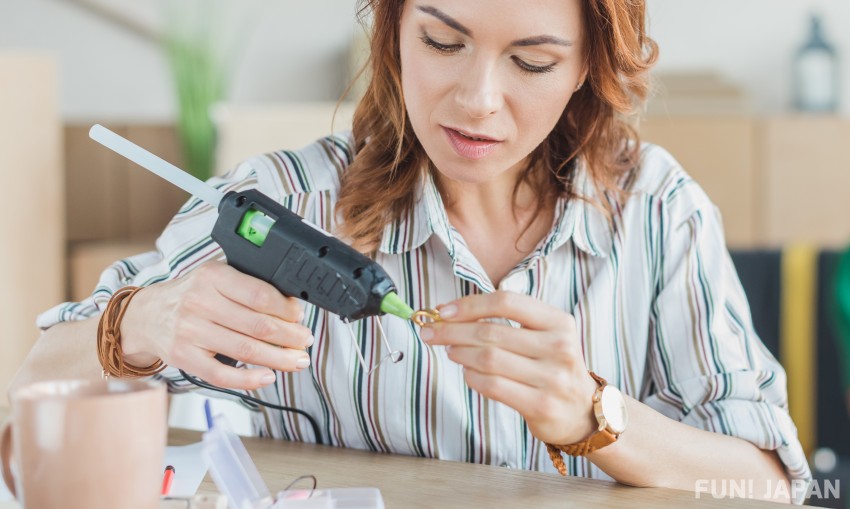
If you are familiar with Handicraft, you can make a kimono in a few hours.
What to Prepare for Making a Kimono Without Needle and Thread
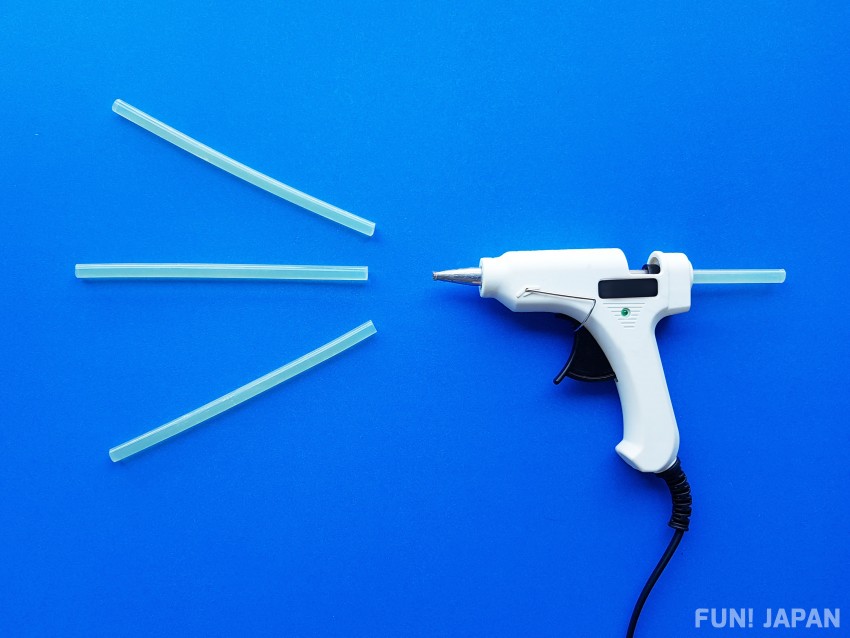
- Fabric glue
- 2-3 meters of fabric
- Pins
- Measuring tools
- A pair of scissors
How to Make Without Needle and Thread

- Fold your fabric in half vertically. Place the pattern on the inside of the fabric.
- Put pins along all the open edges. Fold it again horizontally, from one open edge to the other.
- Cut the fabric into an L shape to the desired length. You can adjust it to your body later by making it a little larger at this stage.
- Open the L into a T shape and lay it out.
- Glue the side of T shape (the left and right of the "T", but leave some space at the top open for the sleeve cuffs). This will create the shape of the kimono and the sleeves.
- Wait for the glue to dry completely.
- Next, create the opening of the kimono. Cut down the center of the front piece (Be careful not to cut the back.)
- As for the collar, cut 5-6cm on either side of the initial front opening cut.
- Fold and glue these two pieces under to create a finished hem.
What do you think? Would you like to enjoy making a simple kimono?

Comments